
Do you want to get rid of the lines on the surface of your 3D prints? Or make it smooth and shiny? If yes, then you may need to consider some post-processing techniques to smoothen your 3D prints.
For all those 3D print enthusiasts — it is well-known that post-processing is the most important part of the entire 3D print manufacturing. Whether you use an FDM or SLA printer, finishing touches can simply elevate your 3D prints to the next level.
Many techniques are used to smoothen 3D prints. These can be classified into three different categories.
- Subtractive methods
- Additive methods
- Change in properties
Subtractive Methods
Subtractive methods involve the removal of extra unwanted materials out of the existing modeling.
1. Trimming
Trimming is done for the models that have a residual of significant size. Depending on the precision of the printer, or the sharp corners in geometry, it is likely to leave some extra strings or blobs. It can also be the residual connections of support structures. Though supports come out easily, the connecting points sometimes leave residual.

Some of these can be trimmed using a pair of scissors, tweezers, a trimming knife, etc. It is the most basic step in the post-processing of 3D-printed objects.
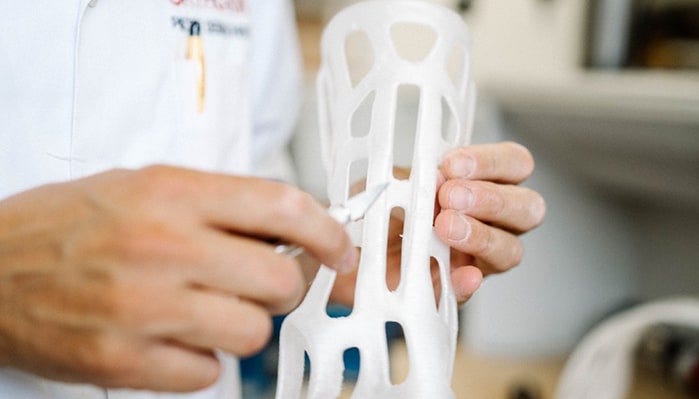
Tom Claes Licensed under Unsplash)
2. Sanding & Polishing
Sanding and polishing are used to smoothen the texture of the 3D prints. Sanding helps remove stepping layers in your model. Here is what you can expect from sanding —
- Remove blemishes
- Adjustments in print irregularities
- Achieve a uniform surface texture
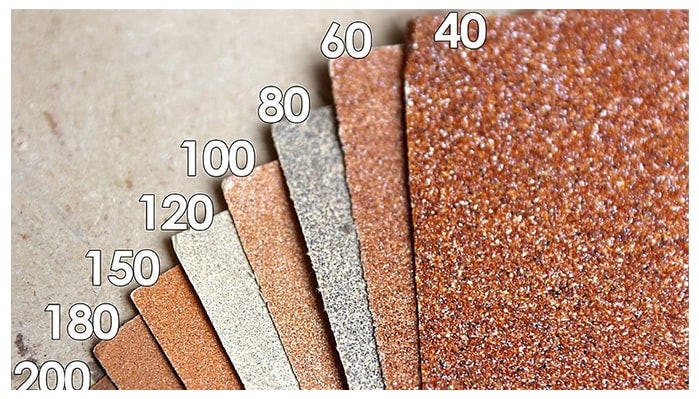
Sanding papers come in different grits. In the beginning, you can start with a sanding paper of 100–200 grit. Depending on the material of the model (PLA, ABS, etc) and the desired finish, you can pick the sanding paper and the duration of sanding. It is very tempting to use power tools for sanding. However, for PLA or ABS-based objects, the vibration and heat from the tool can lead to excess removal or melting of the plastic.
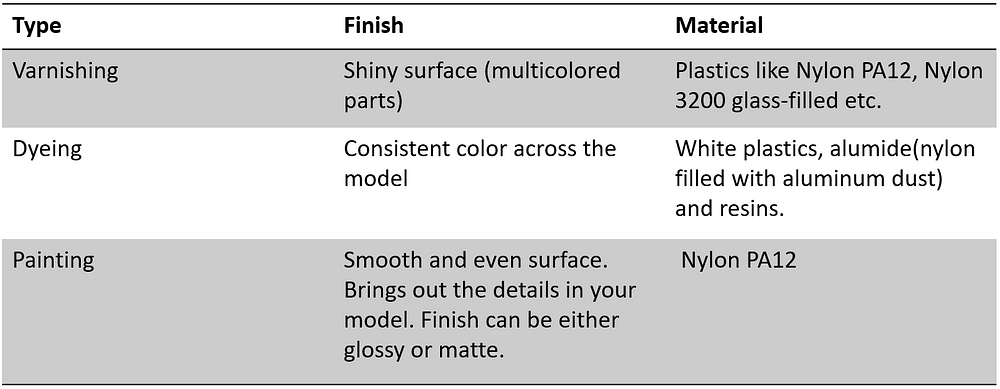
After eliminating the top layer blemishes with sanding, it is time to give it the final finishing touch. There is a wide range of polishes that are used for polishing. Here is a simple list of solvents that are suitable for a given material.
Following are some polishing techniques that one can utilize for perfecting their 3D printed model
- Vapor polishing — It is a technique used for plastics. Vapors of a solvent are used to melt the surface of the model. Which causes the material to ‘flow’ swiftly. It can give a glossy and smooth finish.
- Dipping in a solvent bath — this method is cost-effective when compared to vapor polishing. The 3D printed object is directly dipped into a solvent such as — acetone. Acetone turns into vapor quickly, therefore this task needs to be performed as quickly as possible.
- Applying chemicals using aerosol sprays.
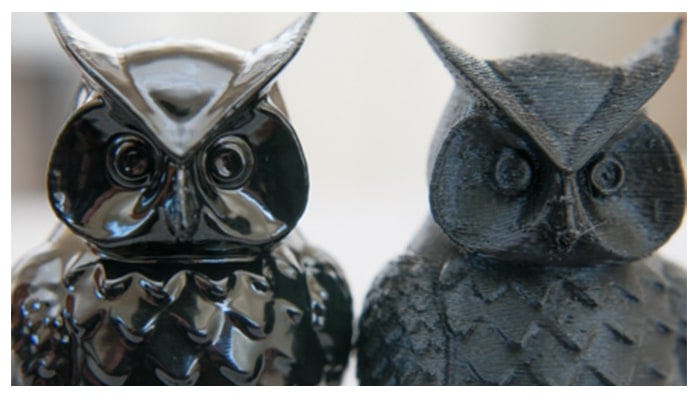
3. Vapor smoothing
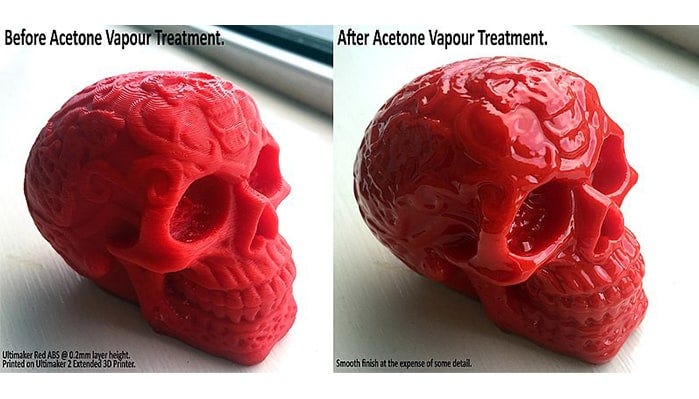
3D prints with coarse finishing can be smoothened by a technique called vapor smoothing. The vaporized solvents like acetone help improve the surface quality of the 3D models. It is suitable for 3D printed parts consisting of polymers and elastomers. Products made out of nylon 12, nylon 12 glass bead, TPU, polypropene, and ABS can be subjected to chemical vapor smoothing. The best part about vapor smoothing is that there is no removal of material from the model. The model is placed in a sealed vapor chamber and a solvent’s vapor is passed through it. The vapor sits on top of the surface and starts to melt it. It helps in the elimination of lines, bumps, and uneven surfaces. This technique gives a shiny finish to the 3D printed model.
4. Sandblasting (Abrasive Blasting)
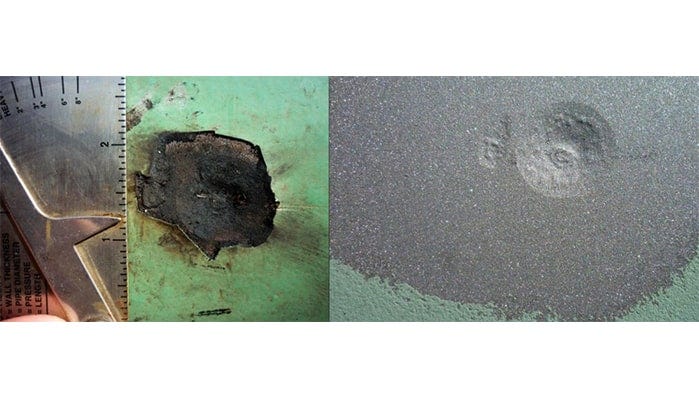
Sandblasting is used across various industries. The lettering engraved on cement bricks is also performed using abrasive blasting. This technique is now being utilized in additive manufacturing as a post-processing method for 3D prints.
In sandblasting an abrasive material is blasted on a printed model. The blasting is conducted at high pressure. Sandblasting is done using equipment that has a chamber with a mixture of air and sand. This is injected through a nozzle and directed to the surface of the model. Most nozzles are made of boron carbide as it is good at resisting the abrasive nature of the process. In simple terms, sand is ejected out of the spraying tool on the surface of the 3D printed model. This leads to the abrasion of rough and uneven surfaces. This technique is effective in creating a homogenous and matte surface. Sandblasting is more suitable for objects with less intricate designs and details.
Additive Methods
Additive methods are subjected to the addition of another material to the existing model.
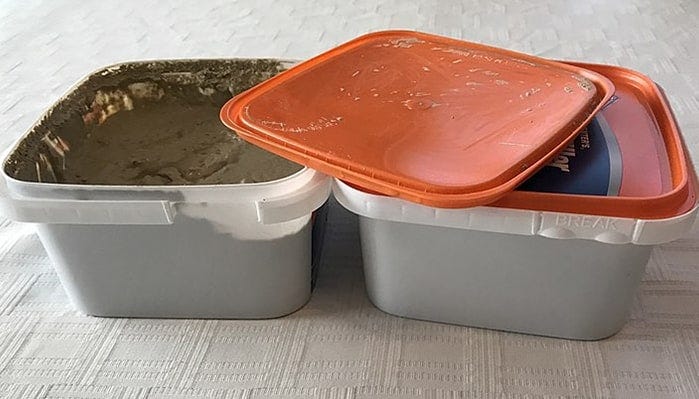
5. Filling
In some prints, it is not uncommon to find gaps within the layers or crest and troughs. Before sanding and polishing, it is advisable to fill these gaps using a filler. These fillers come in the form of pastes and sprays. Affordable fillers like wood fillers are widely used in various industries. It is great at filling gaps and can be sanded down later. Recently, an advanced type of epoxy resin filler is in demand. It is known to be more resistant to heat.
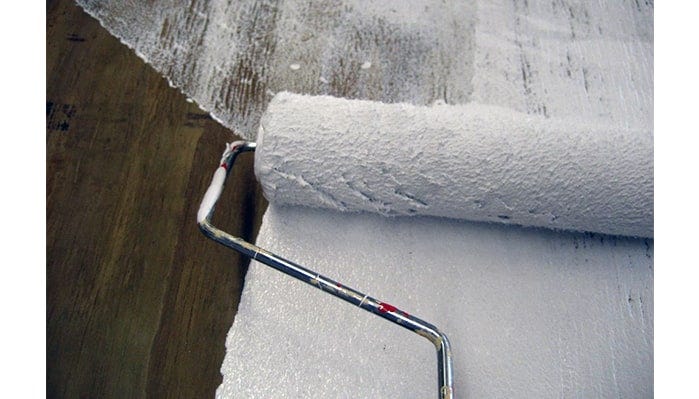
6. Priming
Priming is used to prepare the surface of a 3D model for better adhesion to layers of paint. It is usually in form of liquid or spray, that needs to be applied post sanding. It is important to have an even and smooth surface before priming. A good amount of sanding and filling is recommended. Some key points to remember for priming.
- Choose the primer and paint of the same brand
- Pick spray-on primer to get even distribution on the model
7. Coating
- Brush coating — liquids like paint, resin, or varnish are used to add a layer of coating to the 3D model. This is useful in covering up some unwanted blotches in your print. Depending on the viscosity of the liquid, you can help hide the irregularities in your prints by simple brushing. Brushing is recommended for models with a wider surface area.
- Spray coating — similar to brush coating, liquids can be sprayed onto the surface for an additional layer on the print. Spraying is more effective in getting to the tiny nooks of the model. In addition to liquid spraying, powder spraying is also used to coat objects. Powdered plastic is heated and sprayed rotationally across an object. It is used for metal parts as high temperatures are required for this technique.
Coating with an additional layer of paint or varnish can enhance the aesthetics and give protection to the surfaces against sunlight and UV rays and prevent corrosion in the case of metals.
8. Foiling
Foiling is used frequently for vehicles. Vinyl wrapping is used to enhance the aesthetics of the vehicles. This technique can also be extended to 3D printed models. A vinyl or adhesive foil (light plastics, metals) can be used to drape around the object. It is preferred for objects with simple geometry without too many crevasses and cavities. Foiling also has an automated process called vacuum foiling. This speeds up the process and is more accurate when compared to manual processes.
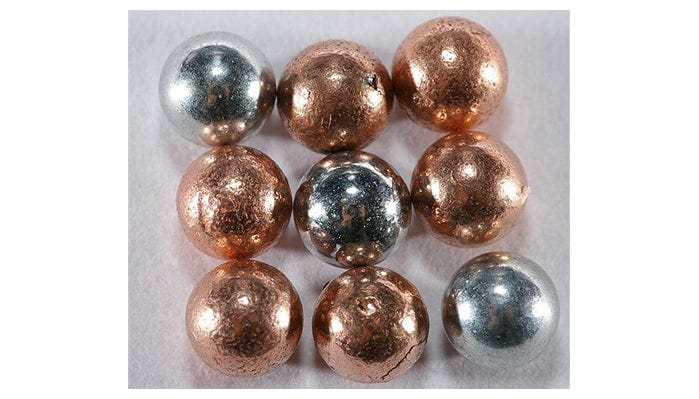
9. Metal Plating
If your 3D printed parts need to have high resistance to heat, chemicals, and weather, then metal plating is highly recommended. The layer of metal which is applied over the 3D printed model achieved through this chemical process of metal plating. Here are the steps for metal plating an object —
- Electroless plating prepares the surface of the model. A simple metal plate is brushed over the model. The first layer can be covered with Copper, Nickle. Gold and silver are also other options that can be expensive.
- Once the initial coat of metal is completed, the 3D printed model is now dipped into different types of baths consisting of either rhodium, platinum, palladium, or chrome. This bath is galvanic, where anode & cathode ions are present in the liquid.
- Here the metal-acid solution is part of a set-up called electroplating. The objects are emersed in the solution based on the thickness required for plating.
Change in Properties
The below-mentioned processes are different from the subtractive and additive methods discussed so far. These methods predominantly concentrate on changing the physical and chemical properties to bring a smooth finish to your 3D printed models.
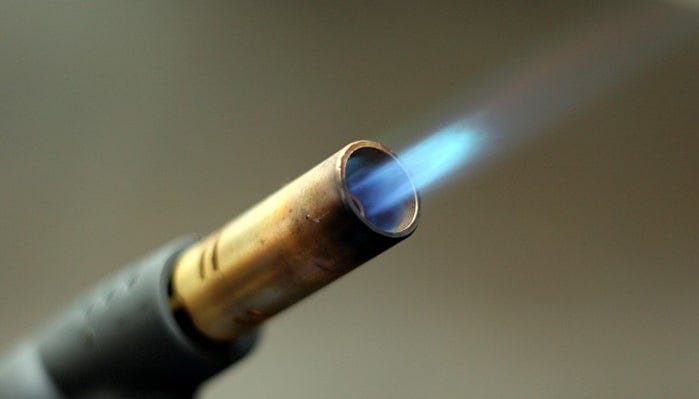
10. Melting
One of the quickest ways of achieving a smooth surface is by using a heat gun. Heat gun uses hot air or fire (not recommended for plastics) to melt the surface of the model. Soon the lines and rough texture start to blend into the model. It is great for getting rid of strings and blobs from the 3D printed parts. It is important to be mindful while using this technique. Prolonged exposure to heat can deform the shape of the object.
11. Annealing
In FDM printers, the plastic filament after extrusion tends to cool quickly. This can lead to stress within the layers of the model. Which causes warping in the edges of the model. This is can be fixed using a technique that works on fixing the molecular structure of the printed parts using heat. Unlike the melting process, through annealing, the object is subjected to evenly distributed heat. The temperature is kept under the melting point of the material of the print. There are special furnaces and chambers designed to control the heat and temperature.
Conclusion
Post-processing is the final and major milestone of all manufacturing processes. The aesthetics of your final product are heavily influenced by the post-processing stage. When it comes to 3D printing, it is necessary to understand the suitable process for your model. The type of process you pick is immensely dependent on the type of printing (FDM, SLA, SLS, etc), the choice of material, and the kind of finish you are looking for.
In this article, we categorized ten different types of techniques that have been present in the manufacturing industries for decades. Based on the fundamental principle of the process, we divided the methods into the following —
- Subtractive methods
- Additive methods
- Change in properties
This simplification gives us clarity while choosing the right technique for smoothing 3D prints. As a composite 3D printer manufacturing company, Fabheads relentlessly works on giving high-quality 3D printed parts to our customers.
Please let us know in the comments if you have ever used any of the techniques for smoothing your 3D prints. Also, share some other techniques that you tried!